Your Windows computer may be displaying ERR_NETWORK_CHANGED errors due to a misconfiguration in your network settings. The good news is that there are some easy fixes that will get you back on the web in no time.
Most people who report this use Google Chrome, but it’s not Chrome at fault, it’s just the syntax it uses. Edge would say something like “Hmm, this is embarrassing.” if you encountered the error. It’s not the most informative error message, I’m sure you’ll agree!
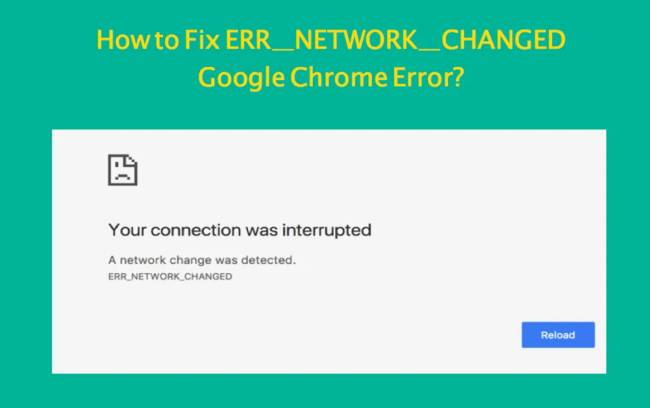
Table of Contents
How to Fix ERR_NETWORK_CHANGED Errors in Windows
The ERR_NETWORK_CHANGED error usually indicates that your computer’s network configuration has been changed. It either stops or interrupts the network connection between the browser and the internet. In order to fix the error, we must address this issue.
Misconfigurations, VPN software, and DNS problems can cause this problem. The solutions to each of these are straightforward.
Restart Your Computer and Router
Start by restarting your computer and network, as most IT support will recommend.
- Your computer and router should be rebooted.
- Make sure your internet connection is working even if your browser is displaying errors.
- If you’re trying to browse, make sure your computer doesn’t have a VPN installed.
The next step is to try the next solution if the error still persists.
Reset Your TCP/IP Configuration
The internet communicates with a series of protocols that define how information is transferred and interpreted, not to bore you with details. You’ll receive errors if some of these are having issues, such as TCP/IP.
You can reset TCP/IP on your computer by following these steps:
- Click on Run as administrator from the Start menu after typing “command prompt”.
- Type ‘netsh int ip reset’ and press Enter.
- Use your internet browser to retest your connection.
After resetting TCP/IP, Windows reloads the defaults for your network card and overwrites whatever misconfiguration caused the error. Keep reading if that didn’t work.
Check Your DNS Settings
In the event that none of the other solutions worked, you may want to check your DNS settings.
- Click the Control Panel app in the Start menu after typing “Control Panel”.
- The next step is to navigate to the Network and Internet page.
- Select Change adapter settings from the left pane of Network and Sharing Center.
- Select Properties from the right-click menu of your network adapter.
- In the Properties window, highlight Internet Protocol Version 4 and click it.
- Click the other button, ‘Use the following DNS…’, and add 8.8.8.8 and 8.8.4.4 as the DNS servers. Then click OK and retest. If you had specified DNS servers, change them to automatic, click OK, and retest.
This should fix the DNS issue if it was related to DNS. Let us reset your network card completely if you still see ERR_NETWORK_CHANGED errors in your browser. As a result, Windows will have to reload the configuration from scratch.
- Navigate to Network and Internet again in the Control Panel.
- In the left pane, select Change adapter settings.
- You can now disable your network adapter by right-clicking it. You will likely see a ‘lost network connection’ message when the icon goes gray.
- Once again, right-click your network adapter and select Enable. The configuration should be loaded by Windows and then retested.
Every time I have seen this error, completely resetting the network card has fixed it. Although it doesn’t mean it won’t return, you’ll at least know which method works best if it does!
Fixing Network Errors
There are several reasons why networking errors occur, and they always seem to occur at the most inconvenient times. In any case, now that you know how to fix the error, you can get back to what you were doing.
Did you resolve the issue? Are there only certain apps that cause the error to appear? Please let us know in the comments.